Getting Started
Quick Start
# One-line install (macOS/Linux)
curl -sSL https://raw.githubusercontent.com/ringclaw/ringclaw/main/install.sh | sh

# One-line install (Windows PowerShell)
irm https://raw.githubusercontent.com/ringclaw/ringclaw/main/install.ps1 | iex

# Interactive setup (prompts for bot token, chat IDs, etc.)
ringclaw setup

# Start
ringclaw start
All configuration lives in
~/.ringclaw/config.json. Environment variables such asRC_BOT_TOKENare no longer consulted — runringclaw setupor edit the file directly. See Configuration.
That's it. On first start, RingClaw will:
- Connect to RingCentral via the Bot App's WebSocket
- Auto-detect installed AI agents (Claude, Codex, Gemini, etc.)
- Save config to
~/.ringclaw/config.json - Start receiving and replying to messages
RingCentral Setup
TIP
After creating your apps, run ringclaw setup for an interactive wizard that collects credentials, validates them, and saves the config file.
Step 1: Create a Bot App (Required)
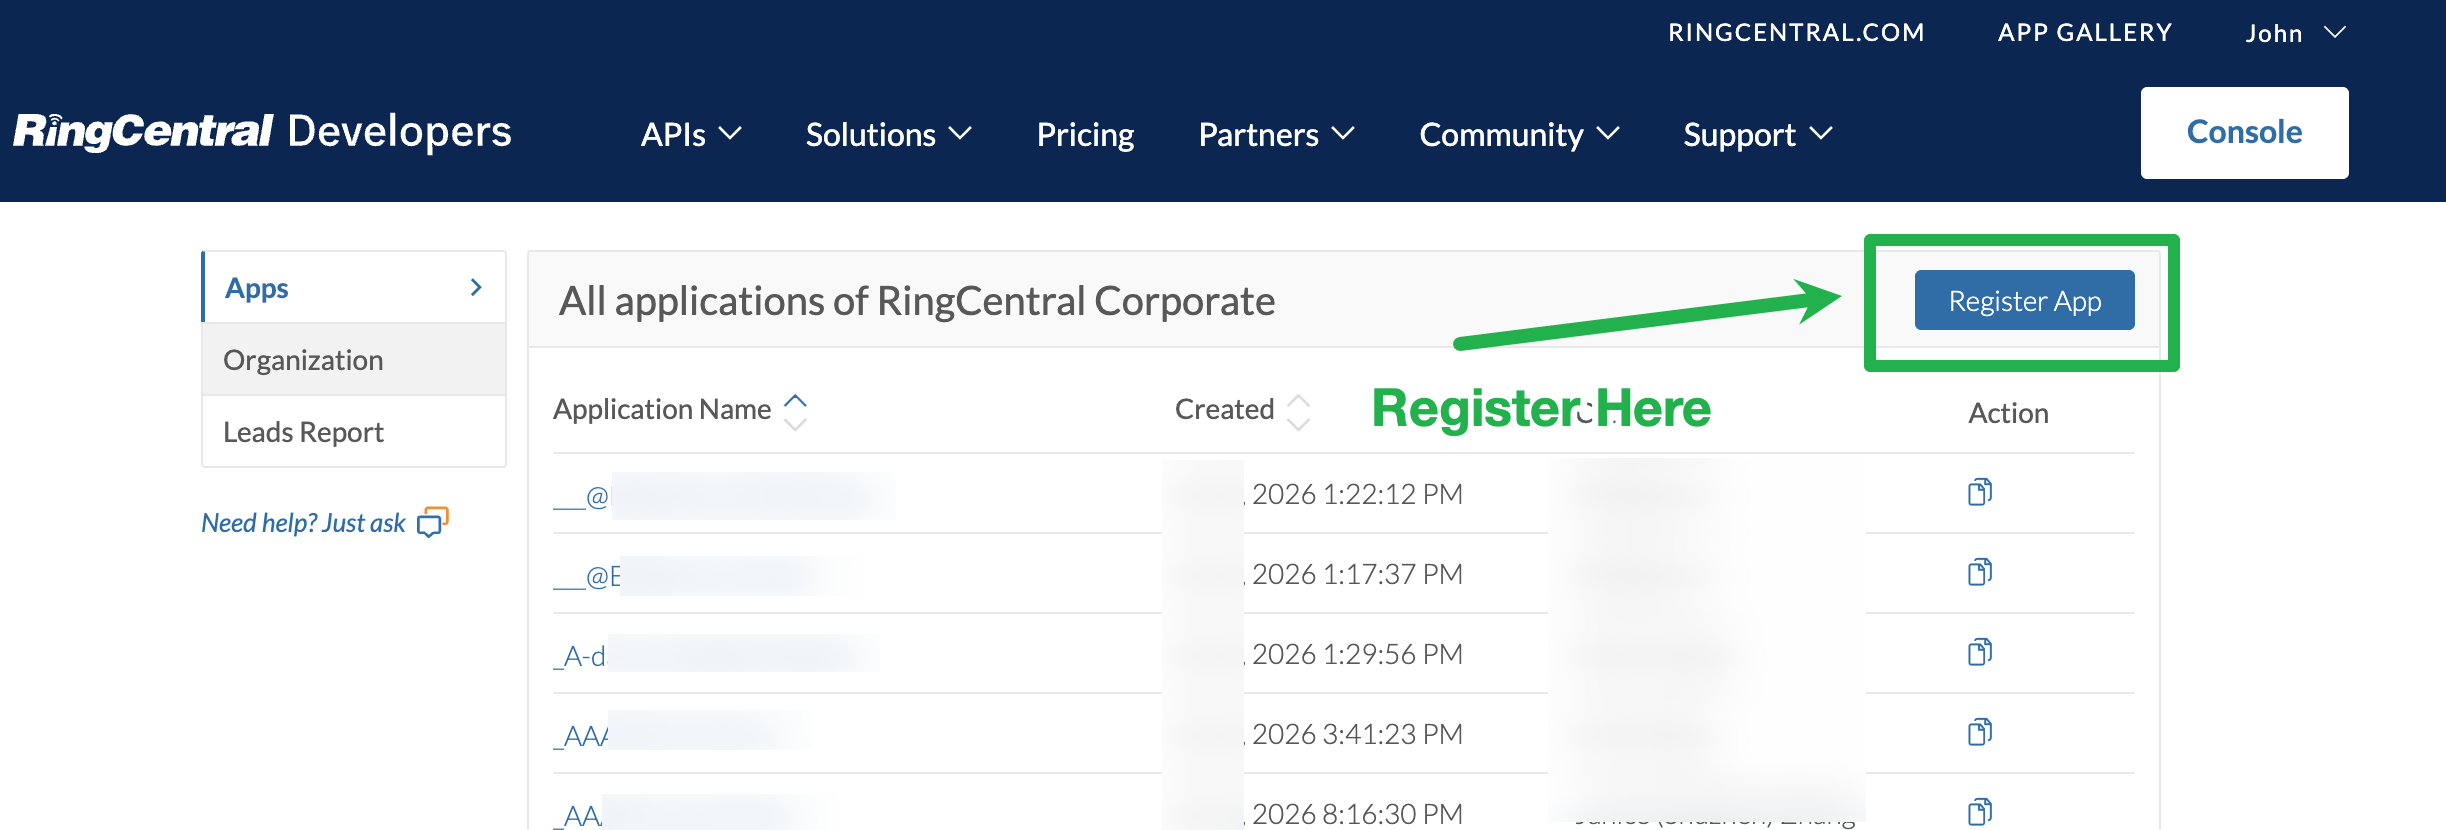
Go to RingCentral Developer Console and sign in
Click Register App → select Bot Add-in
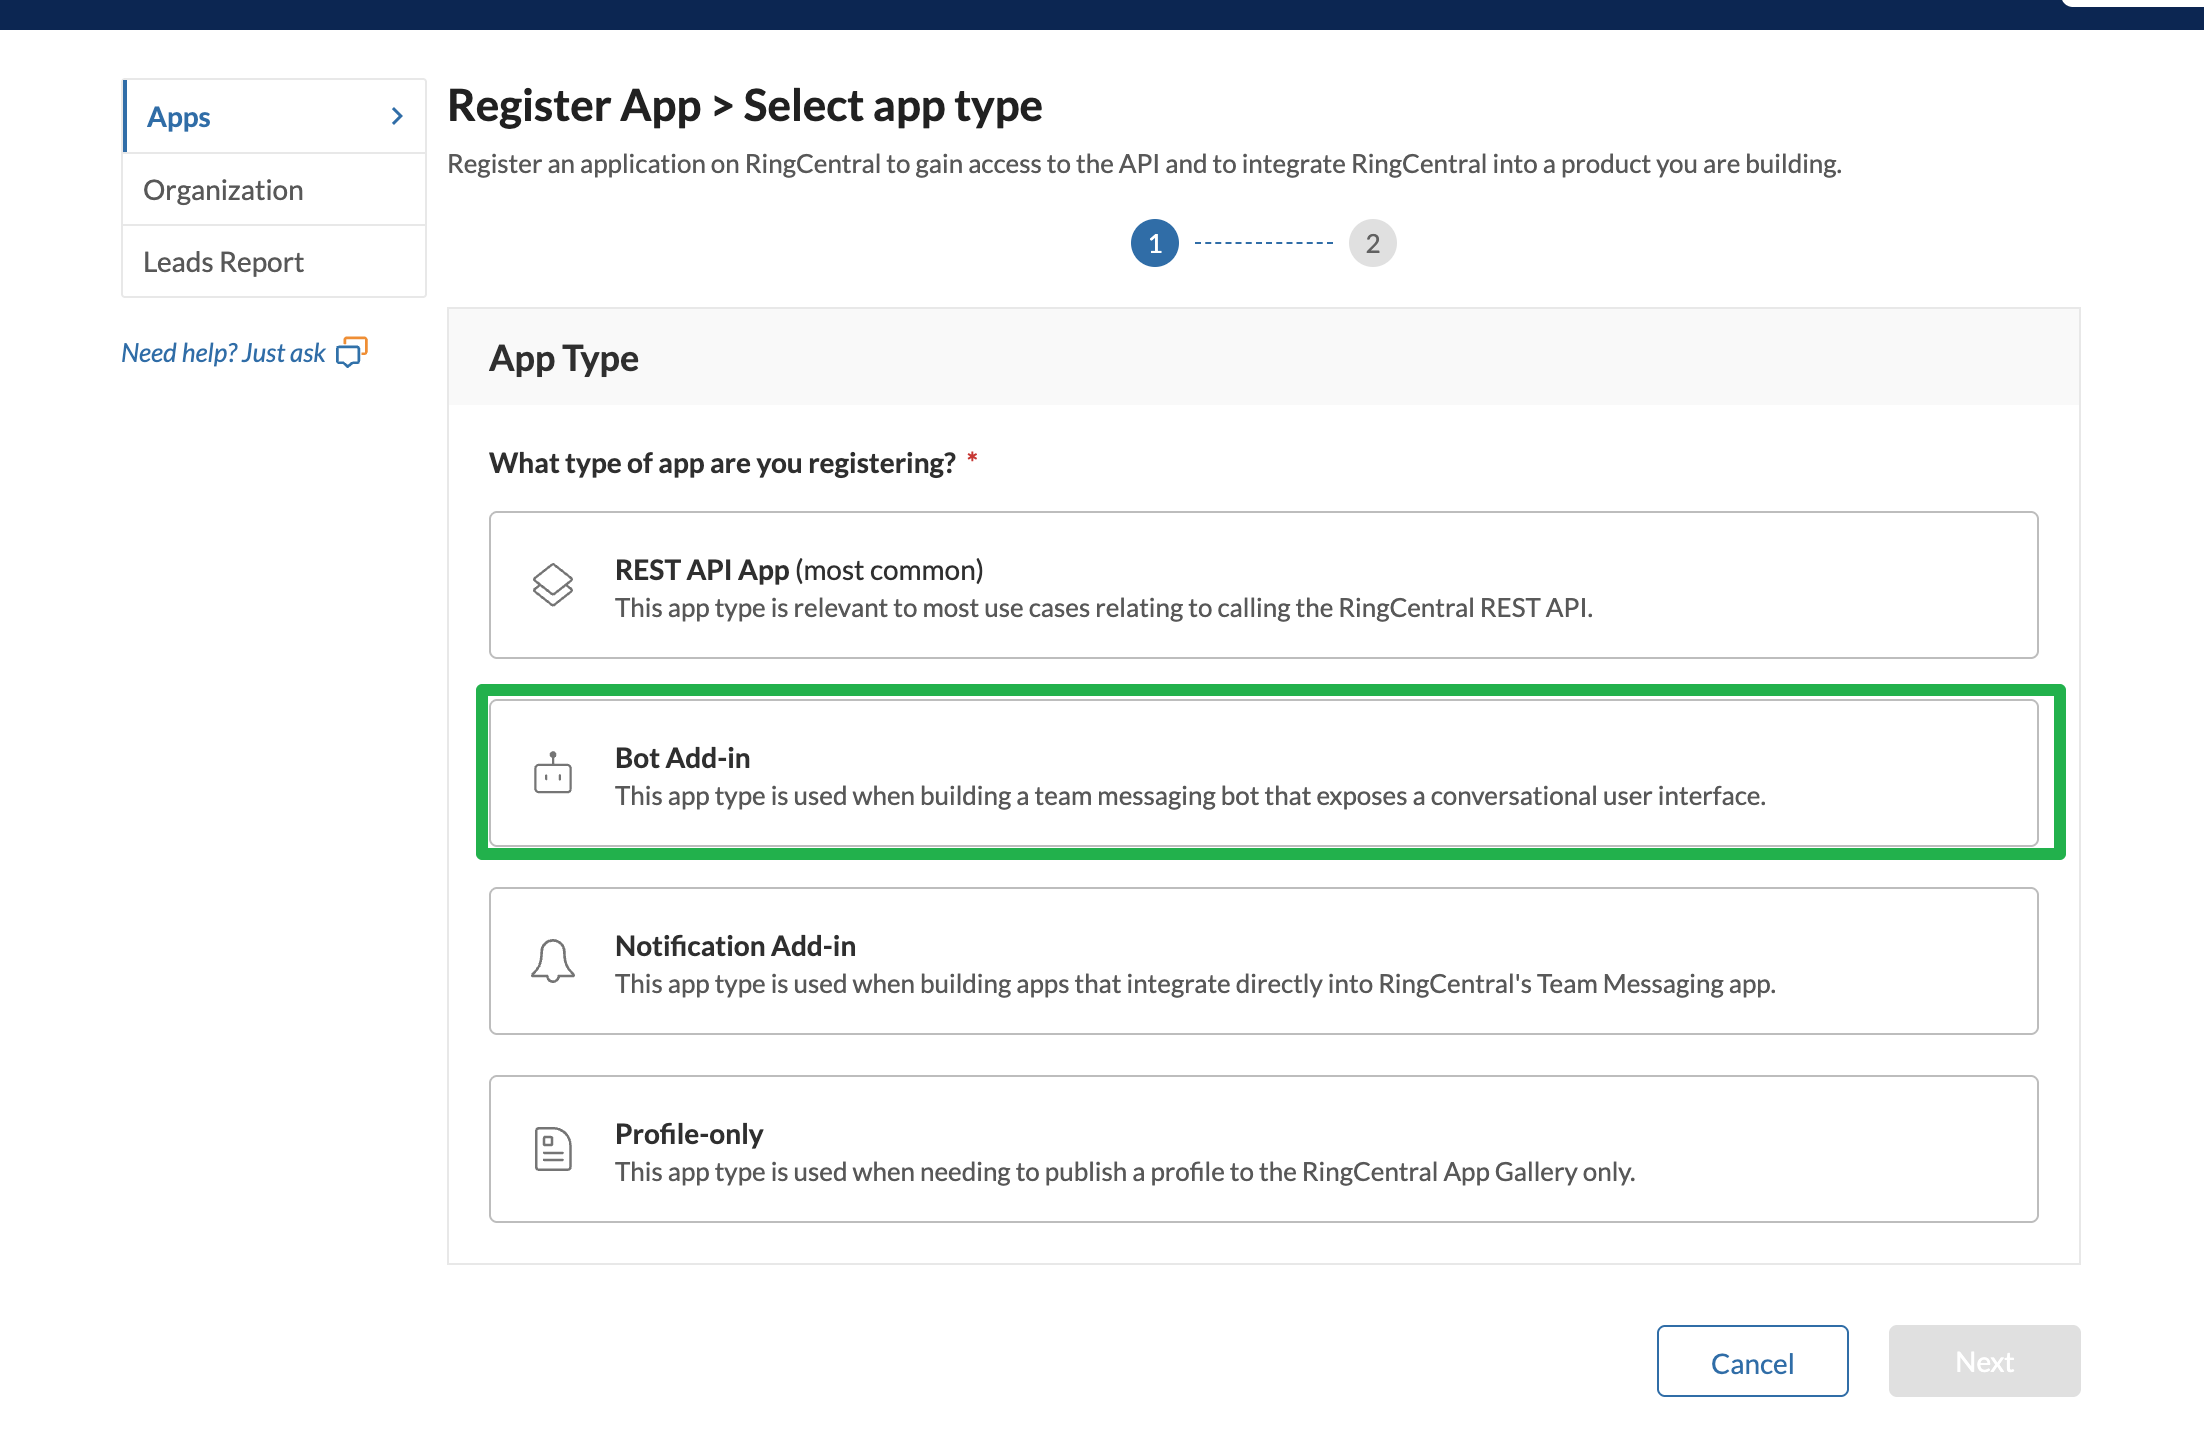
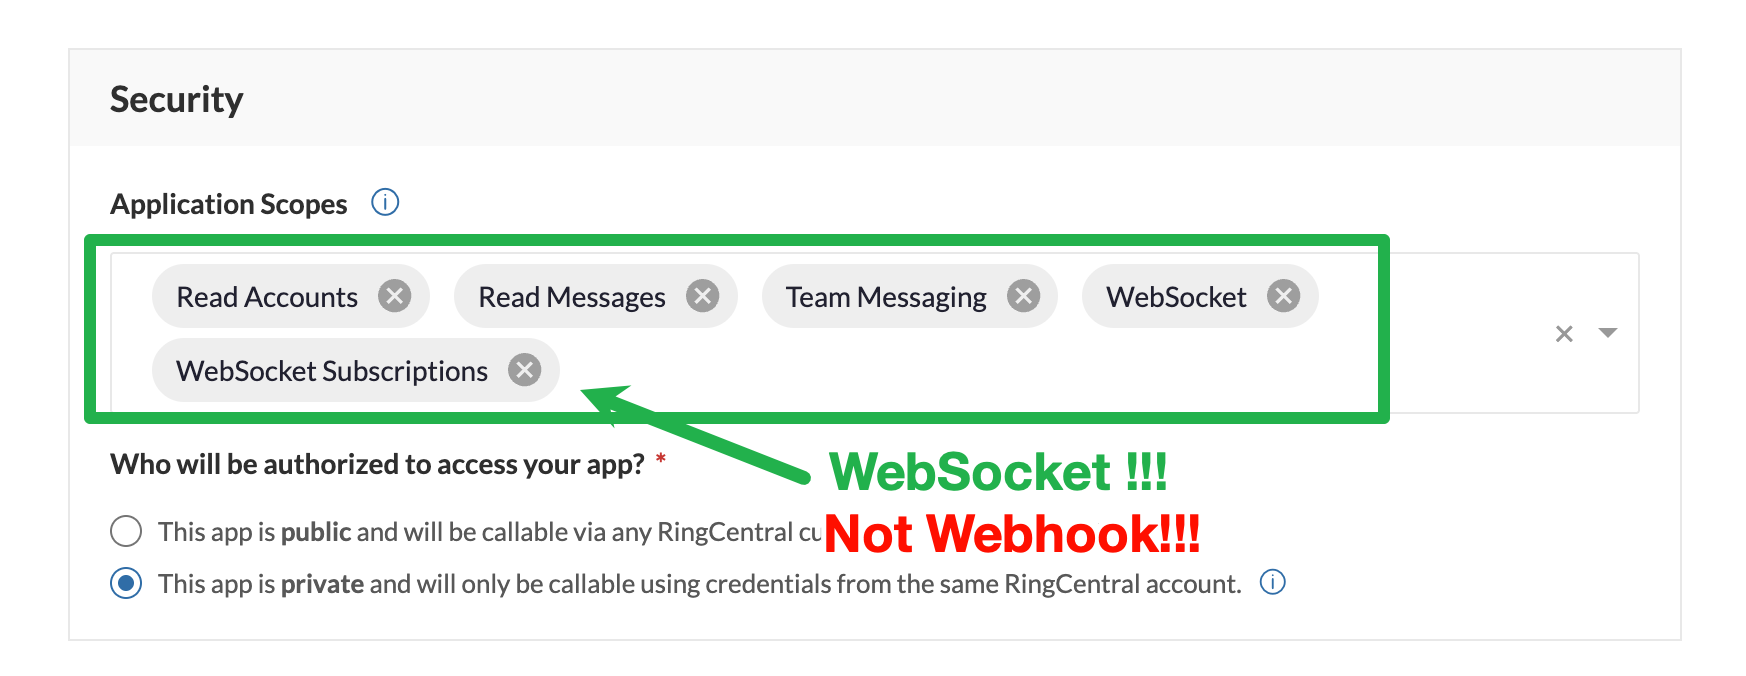
Configure the app:
- Security → Application Scopes: check Read Accounts, Read Messages, TeamMessaging, WebSockets Subscription, WebSockets
- Access: Private (only your own account)
Click Create
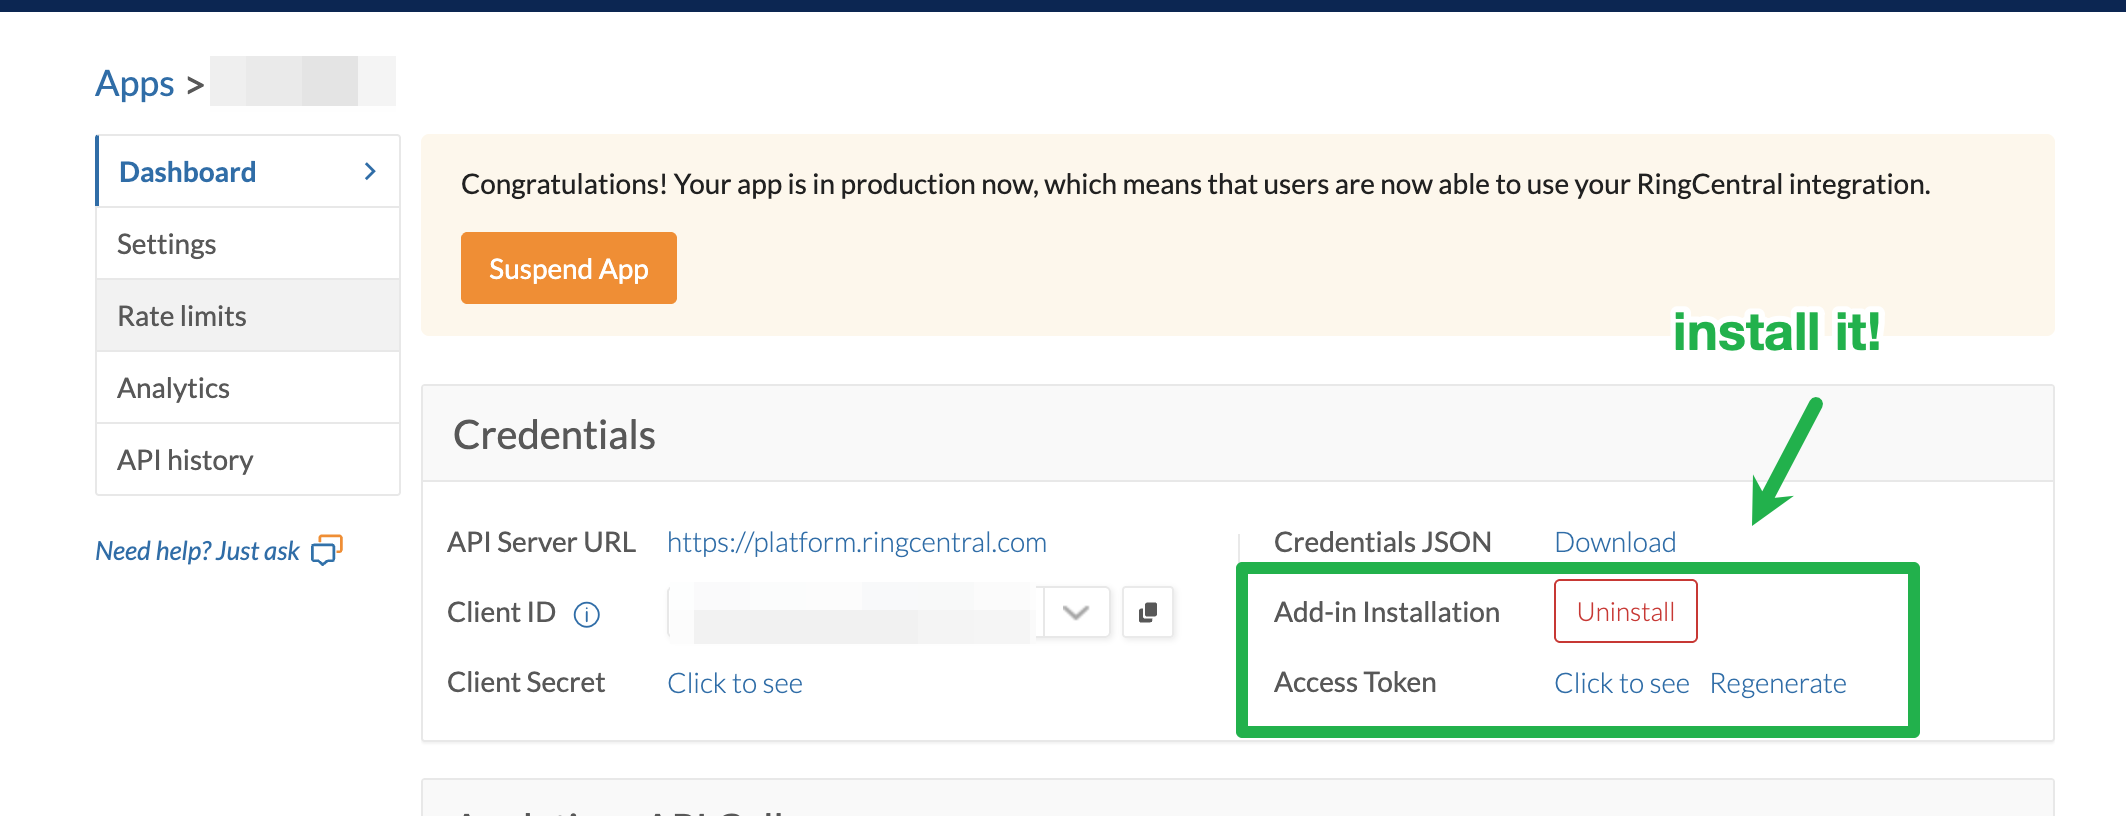
Go to the Bot tab → click Install to install the bot to your account
Copy the Bot Token shown on the Bot tab


Step 2: Find Chat IDs
Open the conversation between you and your Bot in RingCentral
Click More → Copy conversation link
The number after
/messages/is the Chat ID (e.g.1234567890fromhttps://app.ringcentral.com/l/messages/1234567890)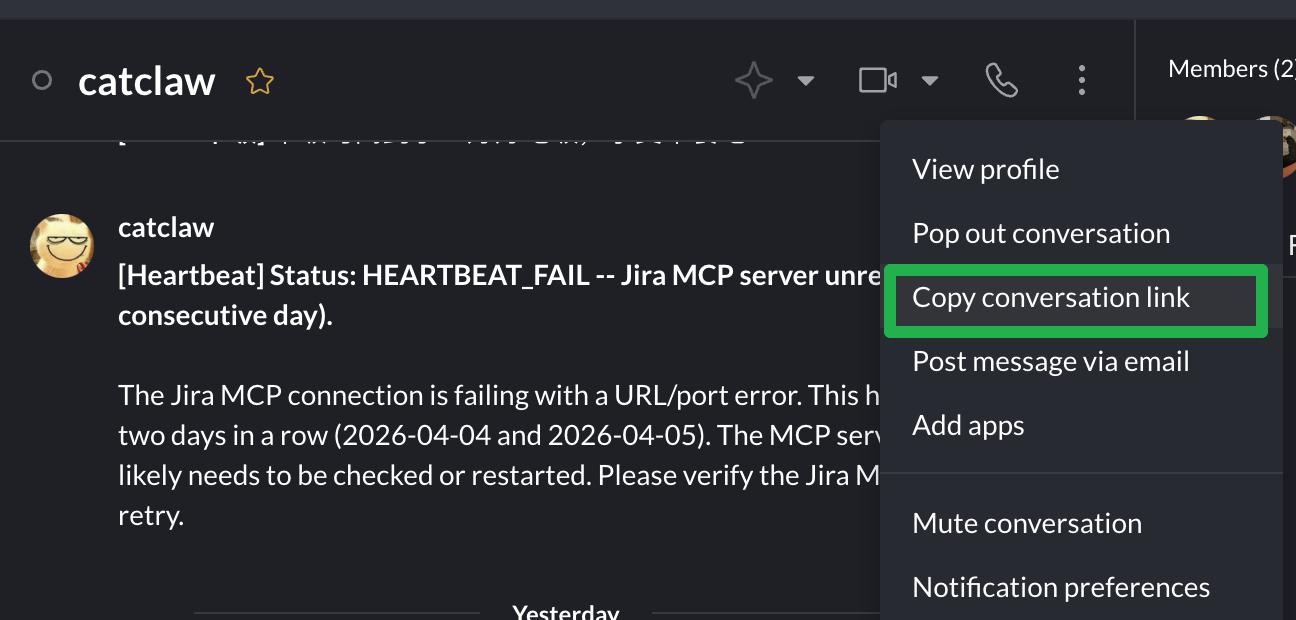

Step 3: Create a Private App (Optional)
A Private App (REST API with JWT) enables additional features:
- Summarize conversations from other chats
- Cross-chat actions (read messages, create tasks in other chats)
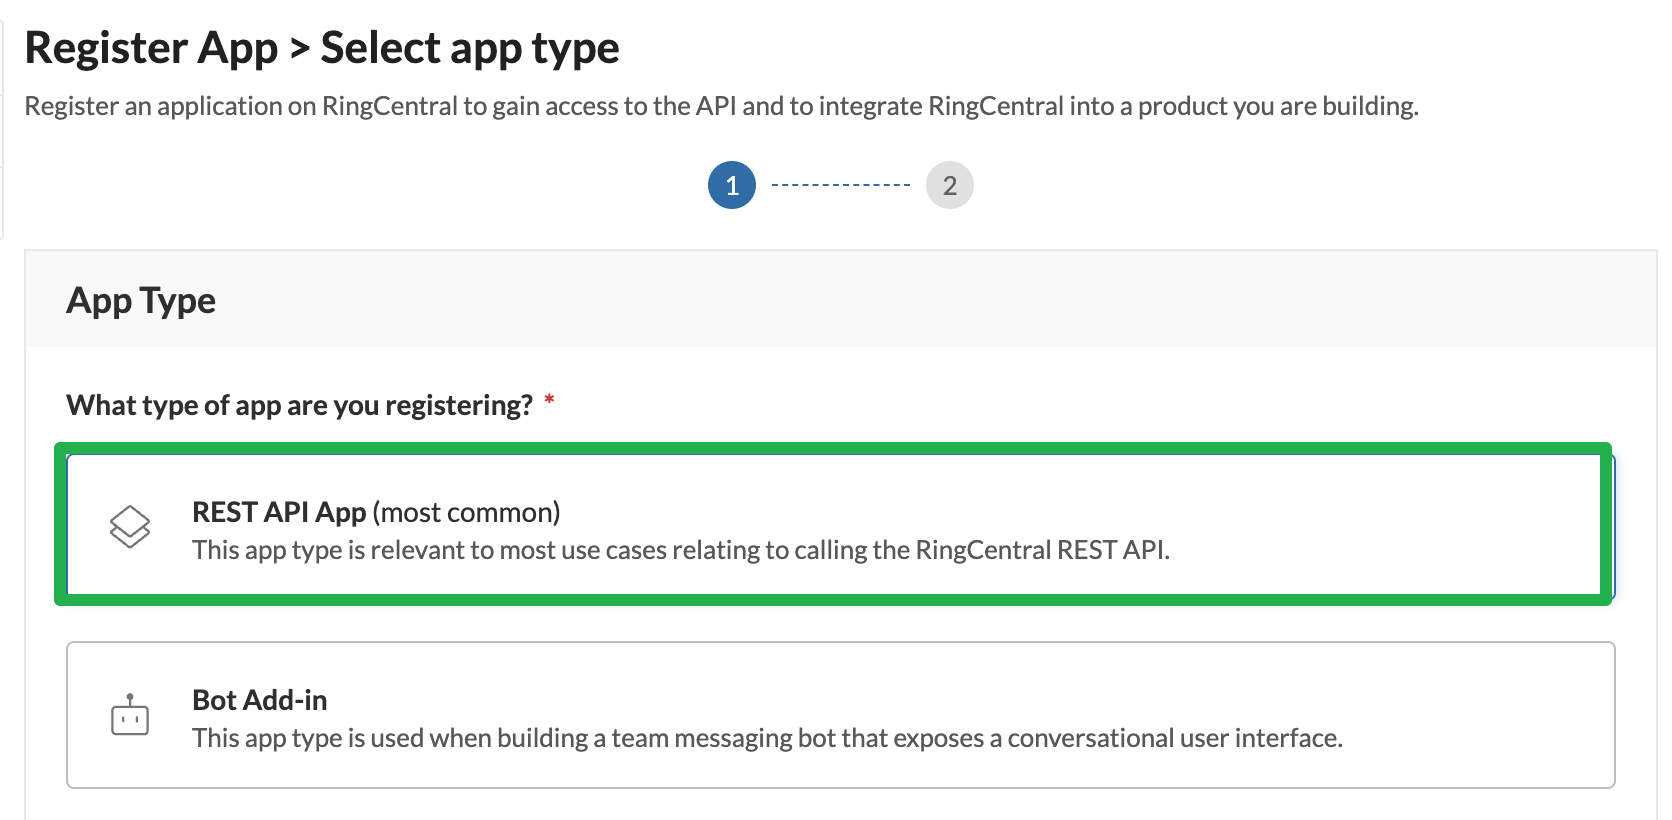
In the Developer Console, click Register App → select REST API App (most common)
Configure the app:
- Auth: JWT auth flow
- Security → Application Scopes: check Read Accounts, Read Messages, TeamMessaging, WebSockets Subscription, WebSockets
- Access: Private
Click Create — you'll get a Client ID and Client Secret
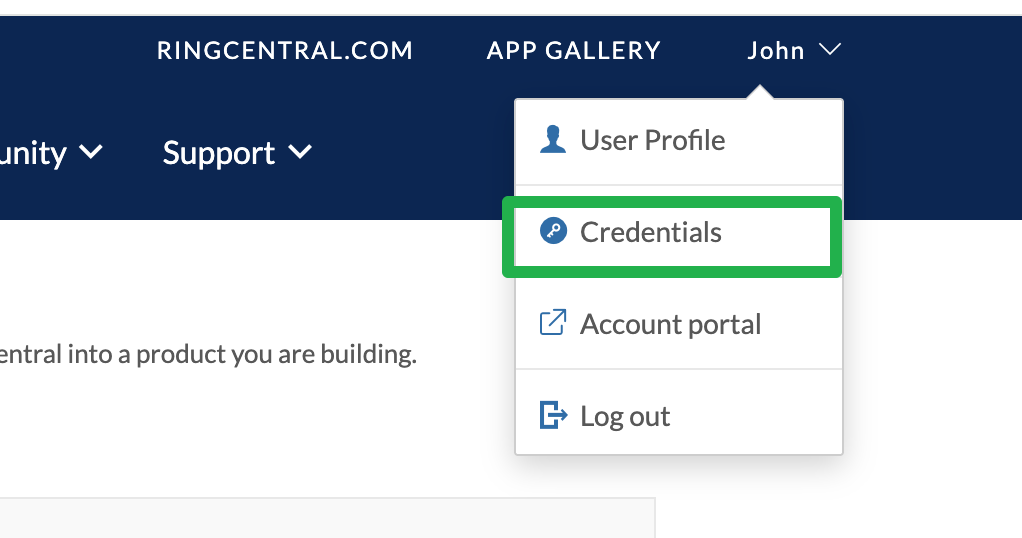
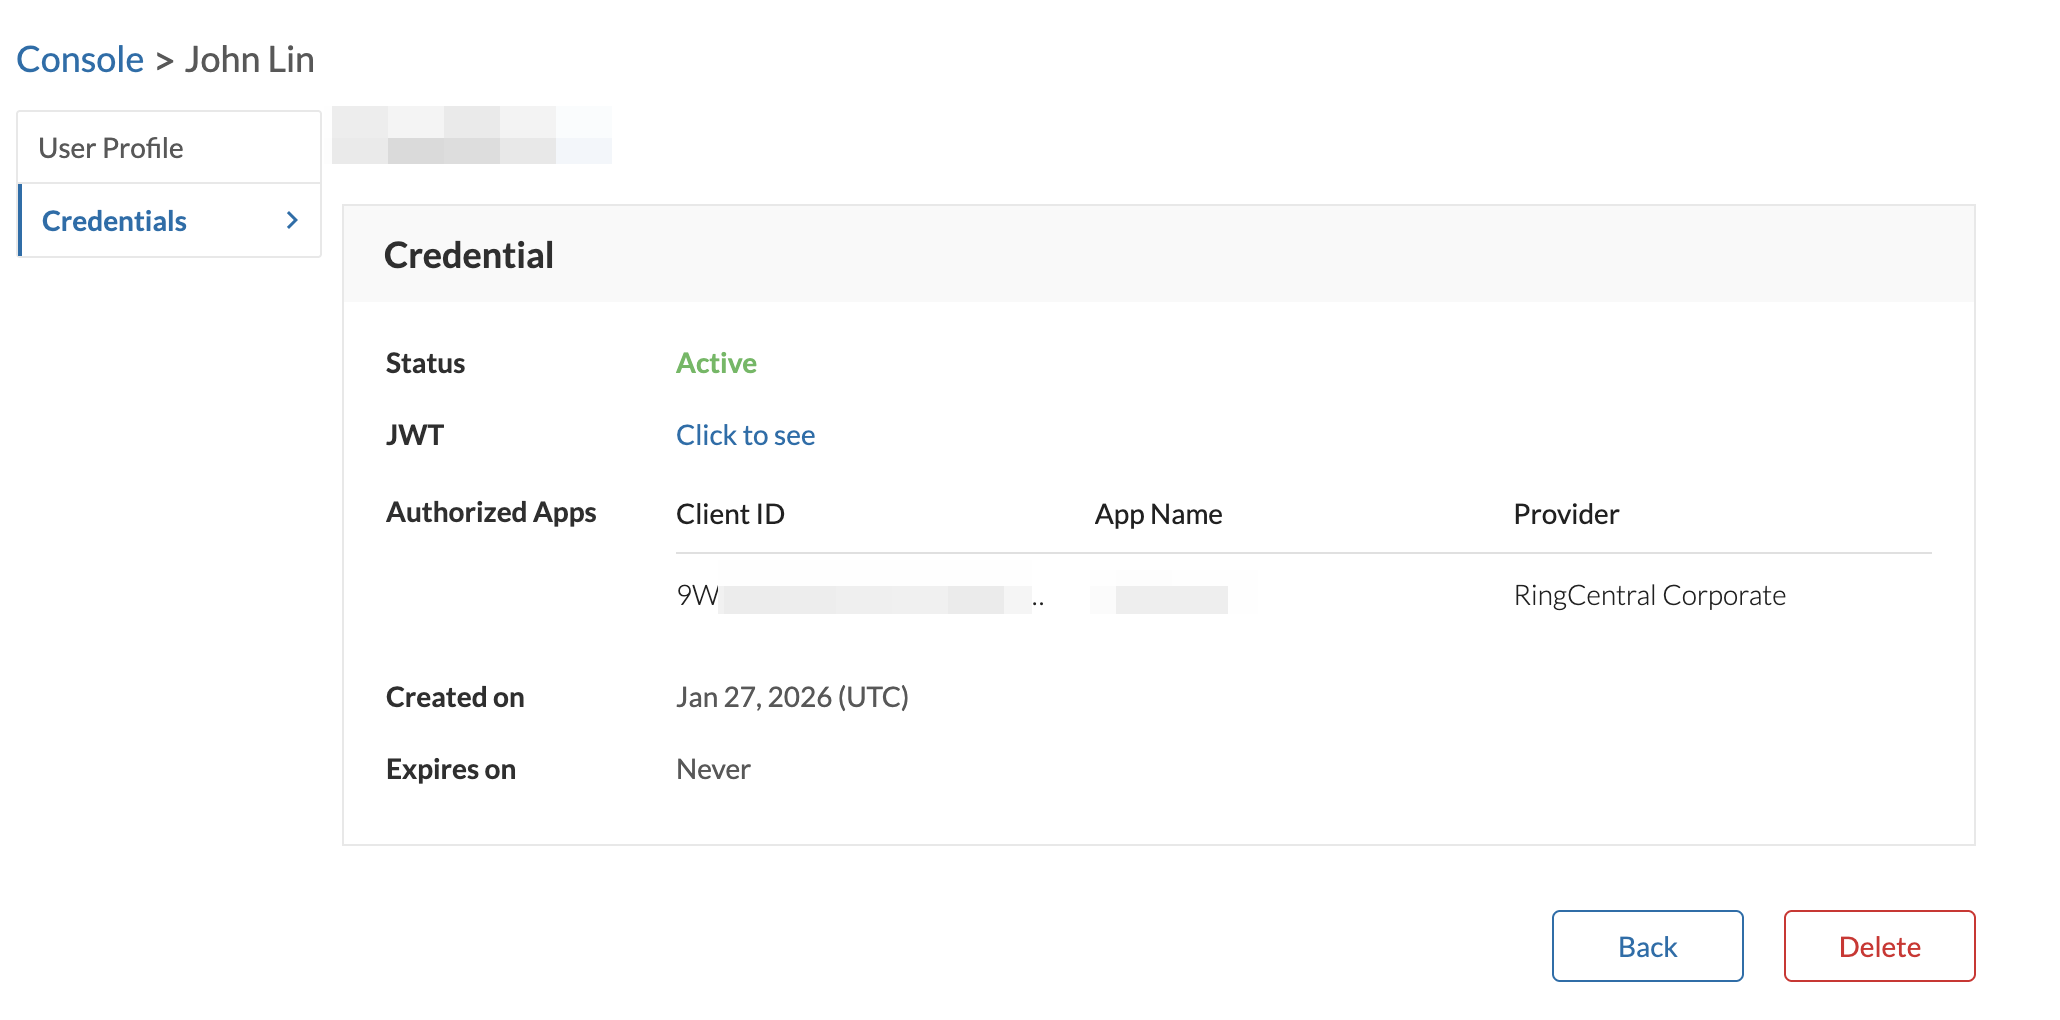
Go to Credentials tab → JWT Credentials → click Create JWT Token
Copy the JWT token


Interactive Setup
ringclaw setupThe wizard will:
- Prompt for Bot Token (required)
- Prompt for chat IDs to monitor
- Optionally configure Private App credentials (Client ID, Secret, JWT Token)
- Validate credentials against the RingCentral API
- Save everything to
~/.ringclaw/config.json
Install Channels
curl -sSL .../install.sh | sh                 # stable (latest tag)
curl -sSL .../install.sh | sh -s -- beta      # beta (latest main build)
curl -sSL .../install.sh | sh -s -- alpha feature/my-branch  # alpha (specific branch)
Switch channels via CLI:
ringclaw update                                    # update to latest stable
ringclaw update --channel beta                     # switch to beta channel
ringclaw update --channel alpha --branch feature/foo  # switch to alpha branch
macOS Note
The installer and ringclaw update automatically clear Gatekeeper quarantine attributes (com.apple.quarantine, com.apple.provenance), so the binary won't be killed after download.
Other Install Methods
# Via Go
go install github.com/ringclaw/ringclaw@latest

# Via Docker (mount ~/.ringclaw to share config.json with the container)
docker run -it -v ~/.ringclaw:/root/.ringclaw \
  ghcr.io/ringclaw/ringclaw start